


DIY Drape to Shower Curtain
- Daphne Fox

- Aug 16, 2016
- 3 min read
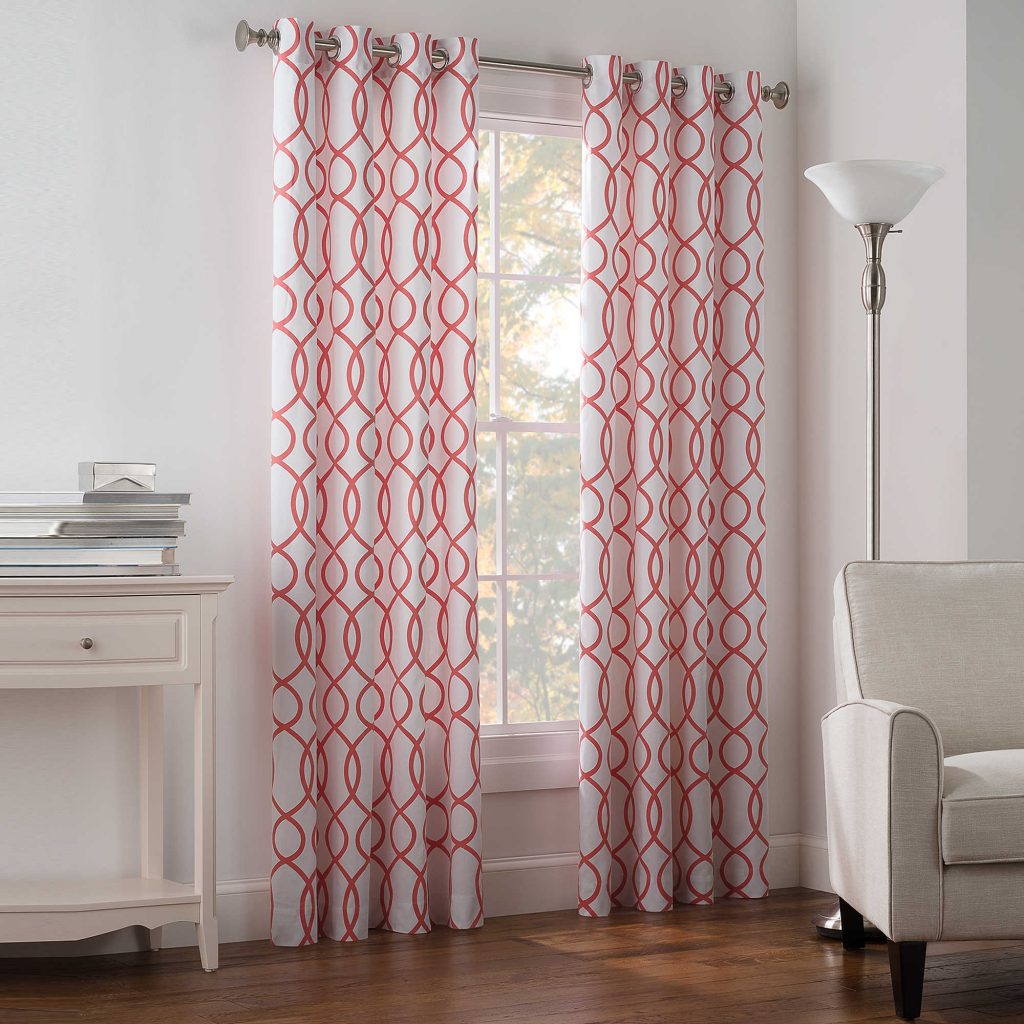
Using drapes instead of a ready to made shower curtain can be so more you! There are many more choices of fabric and colors with drapes than the standard fair of shower curtains to enhance your bathroom decor. You can tie it back with a tassel drapery cord or have it flow freely floor to ceiling, across the length of the shower. Your drape turned shower curtain can cover up that tile or shower enclosure you haven’t been able to replace yet. It’s elegant, economical, fast and easy to do update.
Materials Needed
2 heavy duty vinyl shower curtain liners (PVC free recommended)
1-2 84″ long Grommet Drapes (depending on width of each drape & how full you want it) Note: you can use a drape with a pocket for the rod vs. the grommet but they do not slide easily across the bar.
72 ” 1/1/2″ diameter twist tight tension shower rod
Sewing machine recommended vs. hand sewing, but it can be done


Let’s get started…
First, lay your drapes on a flat surface, I use the floor due to the length of the drape. Drape length can be determined by measuring from the base of the grommets to the bottom of the hem. Place the one of the vinyl curtains (A) directly under the grommet. You will see at how much more liner is needed to meet approximately the bottom of the drape, usually about 12″. But remember that the liner will be inside the tub. So, depending on the depth of your tub adjust the length so it will not drag or sit in the bottom of the tub. Measure the difference between the floor and depth of tub. Usually about 1″-2″ shorter than your drape will work. Also be sure to leave about 1/4″ for overlapping the liner A&B to sew them together. The length of liner is usually 11″-12″ including that 1/4″ for overlapping. Your situation could be different- measure twice and cut once. But even if you mess up you will have liner left to do once more cutting! After cutting liner B pin it to bottom of liner A and sew the extra material to the bottom of liner. Then pin the new A&B liner to top of drape under grommets and sew it to the drape.

Note: If you do use a pocket draped sew the liner about 1″ below pocket so it drapes better
Next, figure out how high you need your shower rod to be. I go as close to the ceiling as I can, leaving 2″-3″ between the top of shower curtain and ceiling to let steam escape. You can go a bit lower, as shown below. It is up to you depending how close you want your drapery to the floor. Usually 1″ above the floor so it doesn’t get wet.

Placing the tension rod. I find this is usually done best with two people as you need some one to laugh with! I get so frustrated, no matter how many times I have done it before, getting that tension rod up & in the right place is not one of my strengths.
Lastly be sure the vinyl shower curtain liner is inside the tub and the drape is outside!
A washable option not shown: The vinyl liners are washable, but they must be removed from the drapes before doing so. A way to achieve this more cleanly option is to use buttons to attach your vinyl curtain liner to your drapes. Instead of sewing on your liner, sew buttons to the drape and make corresponding button holes. Then all you have to do is unbutton to detach and wash. Note: This is best done with a sewing machine but, you can just cut small slits for the button holes in the liner. They won’t last as long but it will work- be sure not to cut it too close to the top of the liner.
Comments